So, my dad and I decided to start growing mushrooms. The first step was to go through the testing phases of growing mushrooms commercially. The first step was this of course. In this post, I am going to walk you through the steps we took while inoculating the mushrooms.
Step One: Preparation
Before any of this started, my dad and I (mostly my dad) started saving coffee grounds that we had used. We filled up a 1 gallon Ziploc bag with used coffee grounds and stuck it in the freezer with our other food. We repeated this process for about 3 months. All you need to get started is 1kg of coffee grounds, so it shouldn’t take you three months. We watched videos and read helpful blog posts from GroCycle as well.
Prepare The Coffee Grounds
As mentioned above, we had about three bags of coffee grounds laying in our basement fridge, eager to host some mycelium! A couple days prior, I put these three bags of coffee grounds into the refrigerator. This was to make sure that by the time we we ready to do the inoculation, they were fully thawed out.
Sanitize
In this process, it is crucial that you sanitize the surface that the mushrooms will be on. As for the air, we didn’t do anything fancy, or anything at all for that matter. The hot water that goes over the coffee grounds sanitizes them, which makes coffee grounds a great thing to grow mushrooms in. The last thing you want is mold invading your mushroom colonies. One important thing that we did do though, is we washed our hands super well. We did this so that the bacteria and other junk on our hands wouldn’t make its way into the mixing bowl.

The Inoculation
In my mind, while writing this, I was envisioning this part to be the big part. The one that made your knees weak, your arms heavy, your palms sweaty . . . anyway, the time came and we were now ready to begin inoculating.
Measuring
We used the metric scale for this, despite being based in the U.S. We wanted each bag to be somewhere around 1kg. For the spawn, we wanted it to weigh around .1kg so that it would be a 10:1 ratio from coffee grounds to spawn. Like I mentioned before, We had three bags all weighing around 1kg. Two of those were a bit less, and the last bag was a bit more than 1kg.
As for the spawn, we had a big bag of rye spawn from The North Spore (not sponsored). We used a regular bowl (nothing special) that weighed around .2kg, although it doesn’t matter at all what the bowl weighs. You should definitely weigh the bowl with nothing in it so you know how much to subtract the final number by.
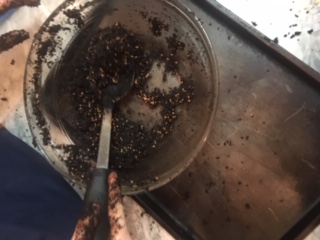
Mixing and Bagging
Once we had all the measuring done, we combined the spawn and the coffee grounds into a bowl. I mixed the combination until the spawn was evenly spread out within the coffee grounds. It was critical that my hands were clean and that nothing else got into the mixture. I would recommend just keeping it simple and mixing it by hand. An added benefit is that it is quite satisfying to mix the combination. It almost feels like playing with kinetic sand.
Carefully, I used a big spoon to put the now inoculated coffee grounds into the bags that we would later hang on our custom built grow tent. We combined the two coffee bags that were less than 1kg, and just left the bag that was a bit more than 1kg by itself. I am excited to see which one will grow better. the bags we used were not too big, as like 1.8kg fit with some room to spare.
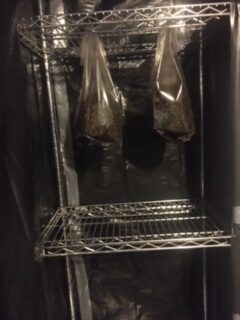
The Hanging (of the Bags)
We had the bags all ready to go after about half an hour of doing all of the other stuff we did. In our rack, which I had modified to grow mushrooms, we sanitized it pretty well so that there would be no competition for the mushrooms. we took the top of the bags and we pulled them through the rack and back down. We sealed the deal with a piece of duct tape and called it a day.
Equipment List: What We Used
See below for everything we used in this process.
- Mushroom bags
- Ziploc bags
- Black plastic
- Duct Tape
- Rulers to make the tent door
- Rye spawn
- Scale
- Coffee grounds
2nd Week Update
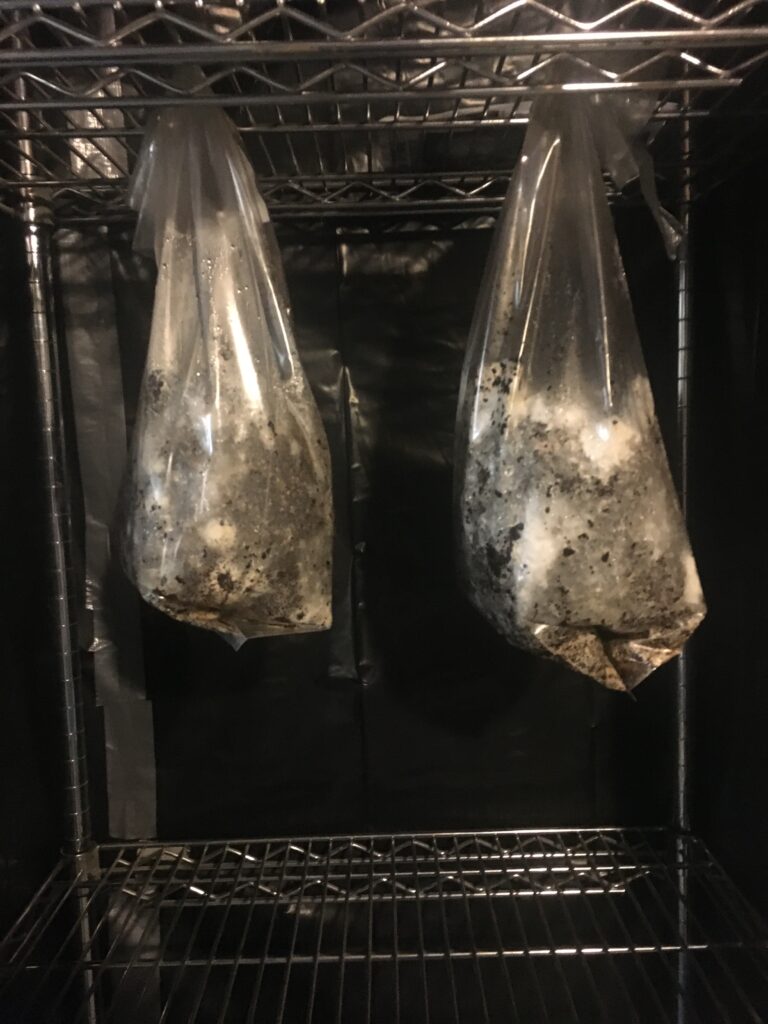
The mycelium has been thriving in my opinion! It didn’t have a great start though. I had it in complete darkness for like a week until sometime while I was on vacation. The door to the grow tent was broken when I came back. It wasn’t a break-in or anything, it just wasn’t build well. Ever since though, they have been growing quite rapidly.
4th Week Update?
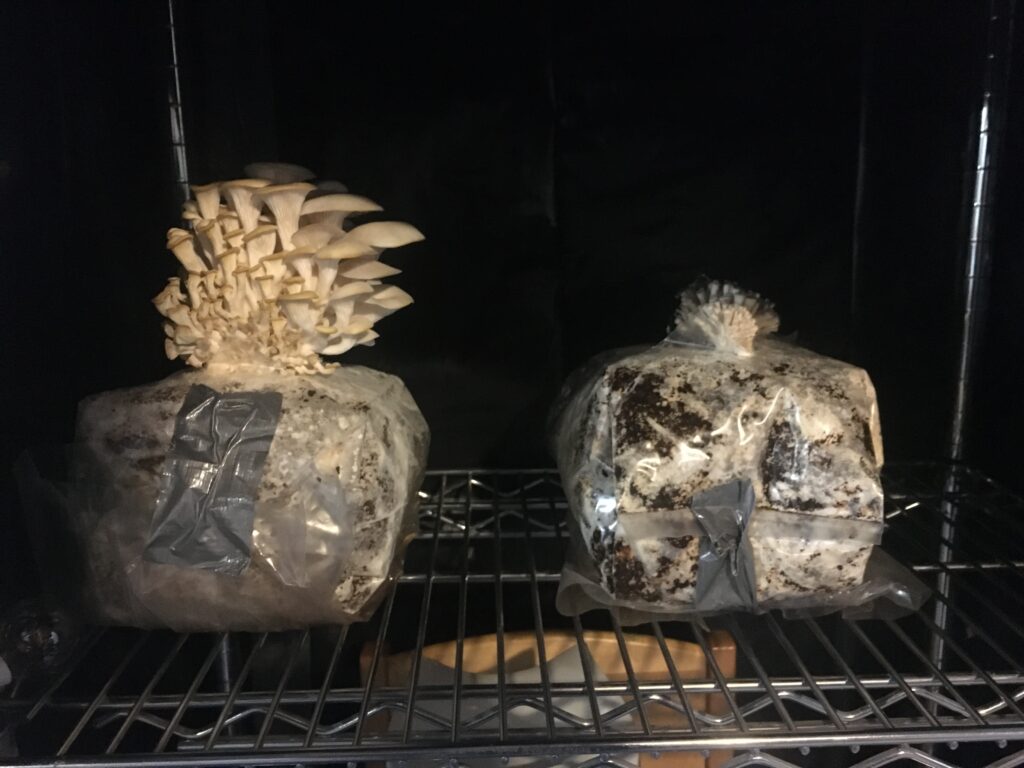
We’ve started fruiting the mushrooms and so far, so good. One of the blocks is a bit late to the game, as you can probably tell. The reason behind this is because there was loose space in the back and mushrooms started growing there. We have been using a humidifier and exposing it to light.
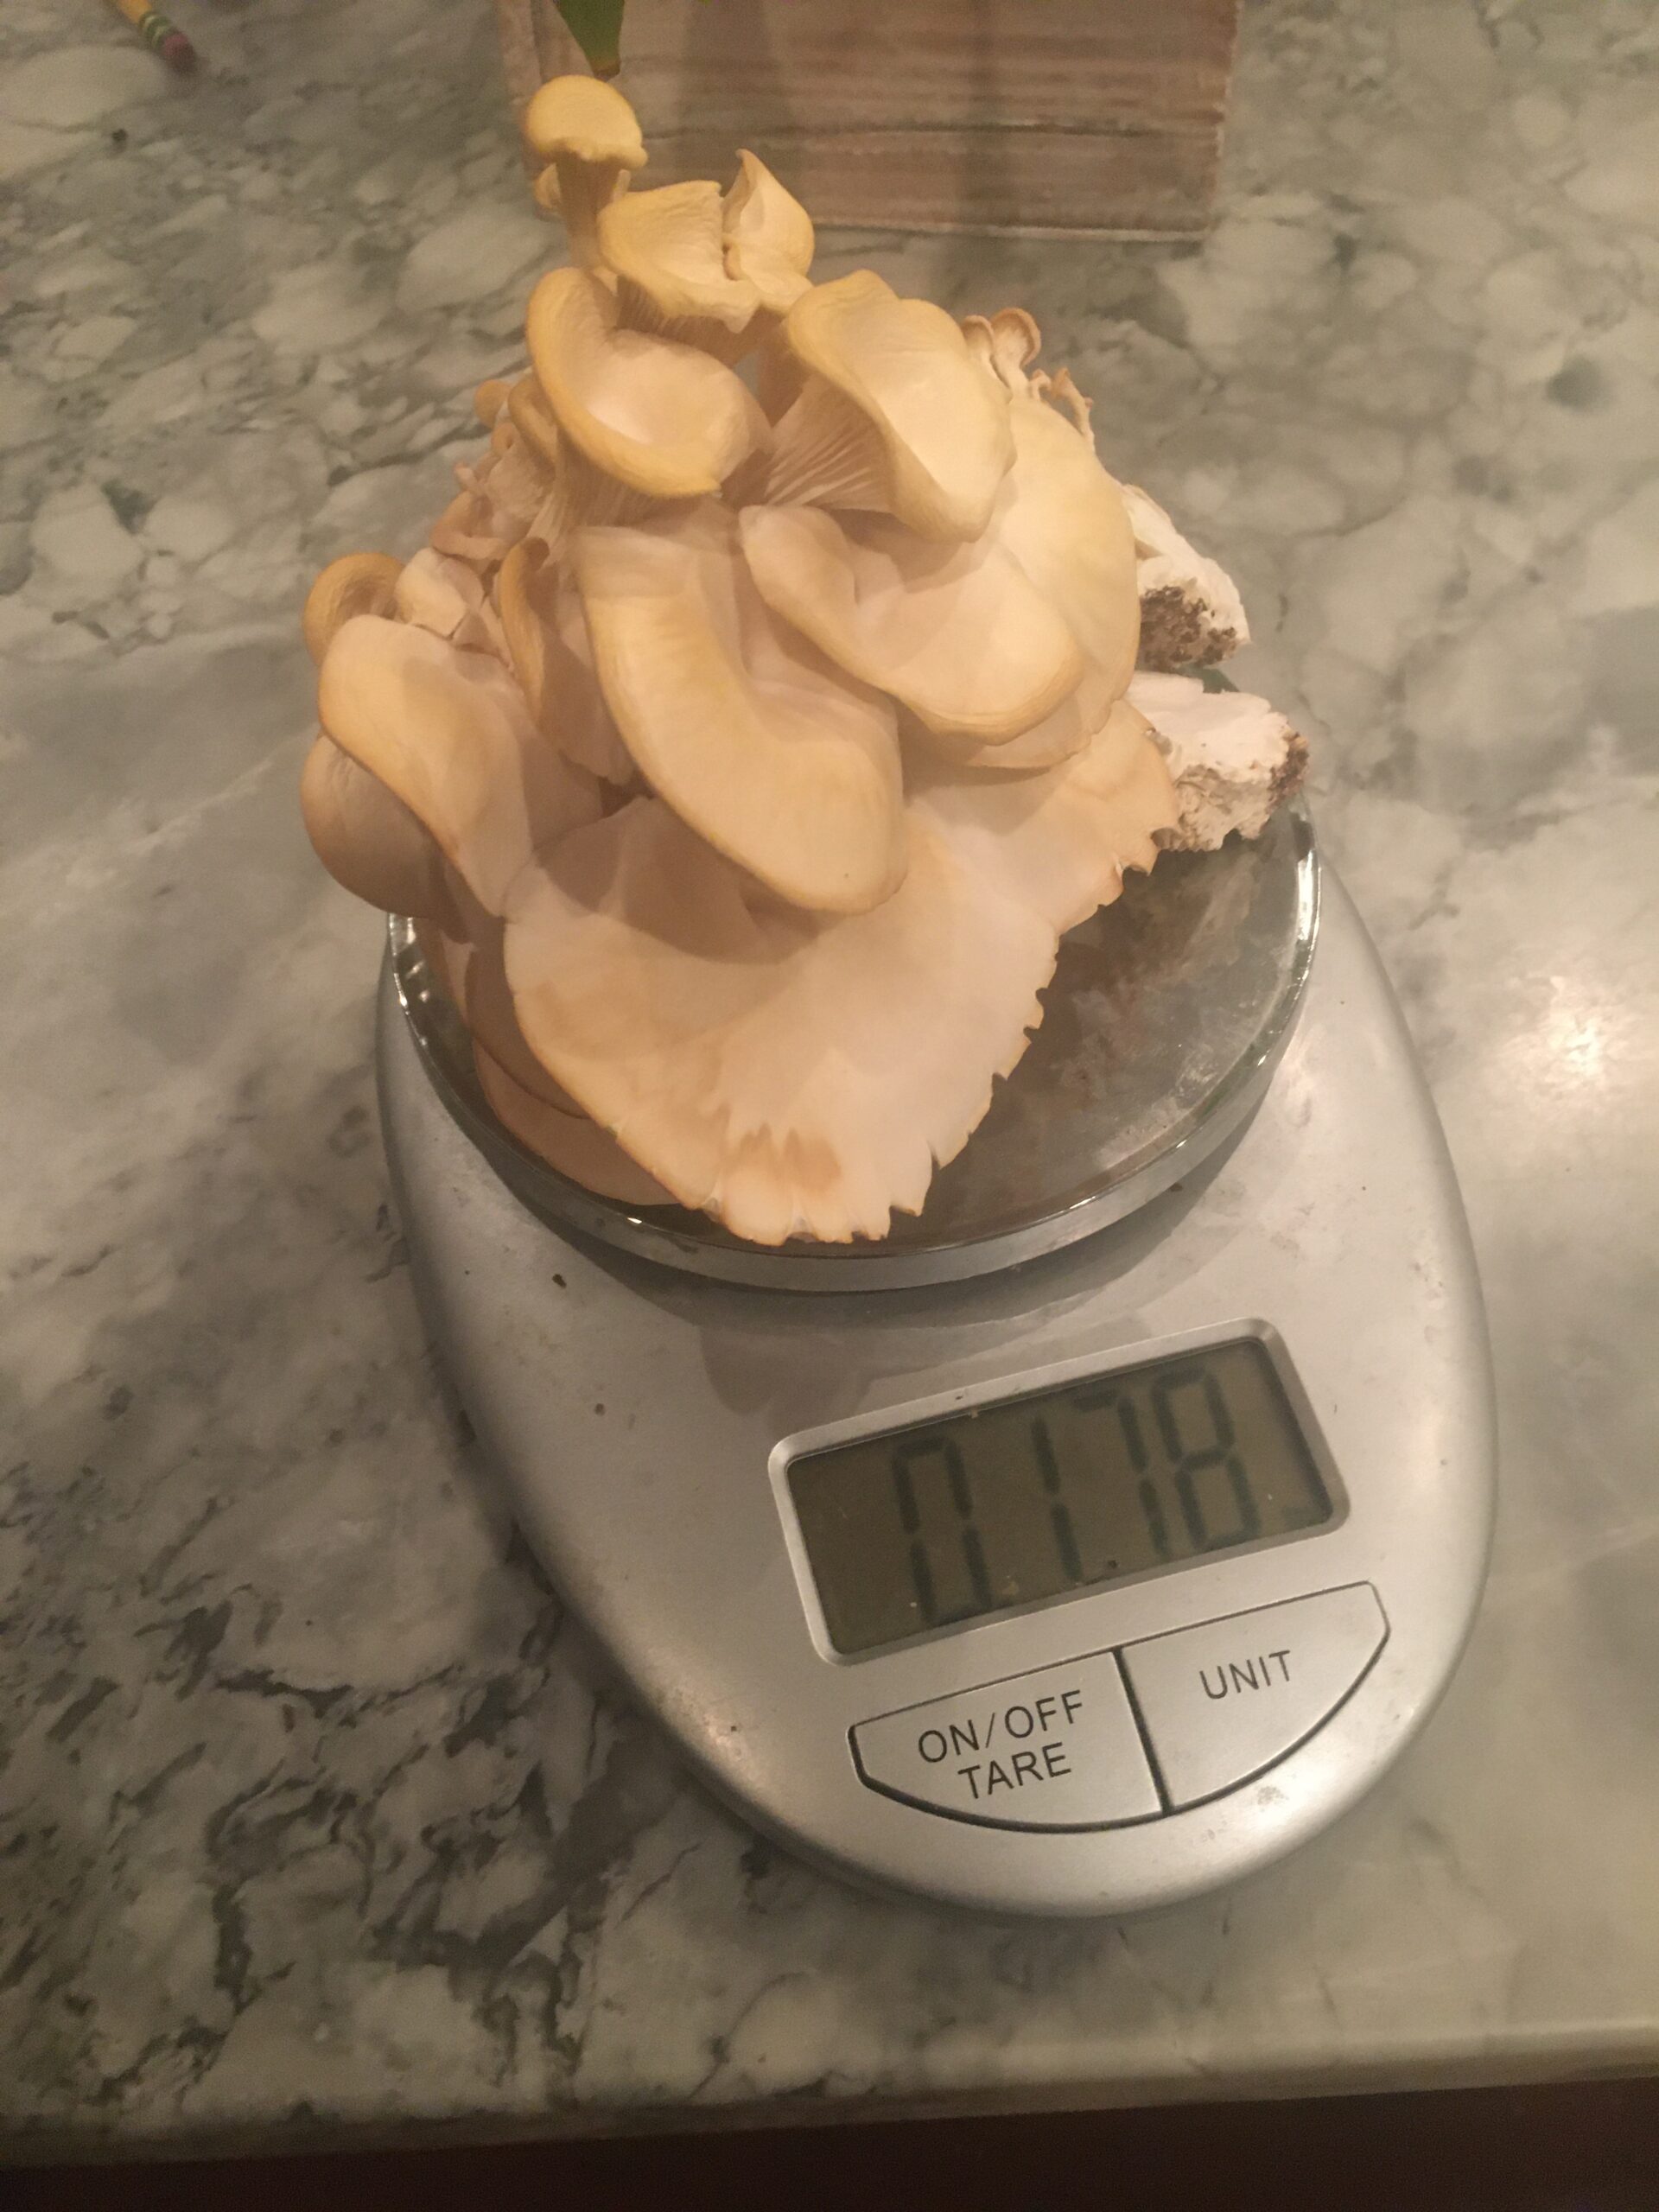
Harvest!
Today was a great day, as we harvested our first oyster mushrooms grown on coffee grounds! They were growing quite nicely and the tops had turned up. At the top is a picture of them on the scale.